site-logo Site Logo

DIY Matte Paint: Simple Methods for Creating Flat Finish Surfaces

DIY matte paint: create perfect flat finishes at home

A matte finish can transform ordinary surfaces into sophisticated, elegant spaces. Unlike glossy paints that reflect light, matte finishes absorb it, create a soft, velvety appearance that hide imperfections and add depth to any color. While you can purchase matte paint, create your own allows for customization, cost savings, and the satisfaction of craft something unique.

Understand matte finishes

Before diving into DIY methods, it’s important to understand what make paint matte. The flat appearance come from the ratio of pigment to binder in the paint formulation. Matte paints contain more pigment particles that scatter light kinda than reflect it direct dorsum to the viewer’s eye. This creates thenon-reflectivee surface we recognize as matte.

Benefits of matte paint

  • Hide surface imperfections considerably than glossy finishes
  • Create a sophisticated, modern aesthetic
  • Provide depth to color that glossy finishes can’t achieve
  • Offer a non-distracting background for artwork and decor
  • Create a cozy, soft ambiance in rooms

Method 1: convert glossy paint with additives

One of the simplest ways to create matte paint is to modify exist glossy or semi gloss paint with additives that reduce shine.

Use baking soda

Bake soda is an effective and inexpensive matting agent that work wellspring for small projects.


What you will need:

  • Glossy or semi gloss paint
  • Bake soda
  • Mix container
  • Stir stick
  • Fine mesh strainer (optional )


Instructions:

  1. Pour your paint into a mix container.
  2. Add bake soda gradually – start with roughly 1 cup of bake soda per gallon of paint.
  3. Stir exhaustively until wholly incorporate. The mixture should be smooth without lumps.
  4. Test the finish on a small, inconspicuous area.
  5. Add more bake soda if a flatter finish is desire.


Pro tip:

For an ultra smooth finish, sift the bake soda through a fine mesh strainer before add it to the paint to remove any clumps.

Use unsanded grout

Unsanded grout powder create a durable matte finish that work peculiarly wellspring for furniture and high traffic areas.


What you will need:

  • Glossy or semi gloss paint
  • Unsanded grout powder
  • Mix container
  • Stir stick
  • Fine mesh strainer


Instructions:

  1. Pour paint into your mix container.
  2. Sift the unsanded grout through a fine mesh strainer to remove any lumps.
  3. Start by add 2 tablespoons of grout per cup of paint.
  4. Mix soundly until whole blend.
  5. Test on a sample surface and adjust the ratio if neededneed.


Pro tip:

Unsanded grout come in different colors, hence choose white for lighter paints and a coordinating color for darker paints to avoid alter your desire shade.

Alternative text for image

Source: maisonlyinteriordesign.com

Method 2: create matte medium for acrylic paint

For craft projects and artistic applications, create a DIY matte medium allow you to transform acrylic paints from glossy to matte.


What you will need:

  • Cornstarch or talcum powder
  • Water
  • Small container
  • Acrylic paint
  • Mix palette


Instructions:

  1. Mix 2 parts cornstarch or talcum powder with 1 part water to create a smooth paste.
  2. Add small amounts of this mixture to your acrylic paint.
  3. Start with a 4:1 ratio of paint to matte medium.
  4. Mix exhaustively and test on a sample surface.
  5. Adjust the ratio until you achieve your desire level of matte ness.


Pro tip:

This method work substantially for smaller craft projects kinda than large wall surfaces, as it can be difficult to maintain consistency across large areas.

Method 3: chalk paint DIY formula

Chalk paint course have a beautiful matte finish and is perfect for furniture and decorative items. Make your own chalk paint is amazingly simple.


What you will need:

  • Flat latex paint in your choose color
  • Plaster of Paris or calcium carbonate powder
  • Warm water
  • Mix container
  • Whisk or paint stirrer


Instructions:

  1. Mix 2 tablespoons of plaster of Paris with 1 tablespoon of warm water until smooth.
  2. Add 1 cup of latex paint and mix soundly.
  3. For calcium carbonate version: mix 4 tablespoons of calcium carbonate powder immediately into 2 cups of paint.
  4. Will use instantly, as the mixture will begin to will thicken over time.


Pro tip:

Calcium carbonate typically creates a smoother finish than plaster ofPariss and doesn’t thicken ampere rapidly, make it ideal for beginners.

Method 4: matte spray finish for existing painted surfaces

If you already have a paint surface that you want to make matte, create a DIY matte spray can be an effective solution.


What you will need:

  • Clear matte polyurethane or water base polyacrylic
  • Water
  • Clean spray bottle
  • Fine grit sandpaper (optional )


Instructions:

  1. Mix 3 parts matte polyurethane or polyacrylic with 1 part water.
  2. Pour the mixture into a clean spray bottle.
  3. Gently sand the glossy surface if it’s rattling shiny (optional )
  4. Spray a thin, flush coat over the surface.
  5. Allow to dry wholly between coats.
  6. Apply 2 3 coats for consistent coverage.


Pro tip:

Invariably test in an inconspicuous area firstly, as this method may somewhat alter the color of some paints.

Method 5: flour base matte paint

For a really natural and budget friendly option, flour can be used to create a matte paint with an old world charm, perfect for rustic or farmhouse styles.


What you will need:

  • 1 cup all-purpose flour
  • 1 cup room temperature water
  • 1 cup latex paint in your choose color
  • Mix bowl
  • Whisk


Instructions:

  1. Mix the flour and water unitedly until whole smooth, with no lumps.
  2. Gradually add the paint while continue to stir.
  3. Mix exhaustively until the consistency is flush.
  4. Apply with a brush for best results.
  5. Allow to dry wholly between coats.


Pro tip:

This paint work fountainhead on porous surfaces like raw wood, unfinished furniture, or antecedently paint surfaces that have been softly sand.

Application tips for DIY matte paint

Create the perfect matte finish isn’t precisely about the paint formula — proper application is evenly important.

Surface preparation

  • Invariably clean surfaces exhaustively before paint.
  • Sand glossy surfaces gently to improve adhesion.
  • Apply a primer, specially when work with homemade chalk paint or flour base formulas.
  • Fill any holes or imperfections, as matte finishes can sometimes highlight texture.

Application techniques

  • Use high quality brushes or rollers appropriate for your paint type.
  • Apply thin, flush coats preferably than one thick coat.
  • Maintain a wet edge to prevent lap marks.
  • For large wall surfaces, consider use a paint sprayer for the night even application.
  • Allow proper dry time between coats — DIY matte paints oftentimes need hanker than commercial varieties.

Seal your matte finish

One challenge with matte finishes is that they can be more susceptible to stain and difficult to clean. Apply a proper sealer can help protect your work while maintain the matte appearance.

DIY matte sealer


What you will need:

  • Clear matte polyurethane or polyacrylic
  • Soft lint free cloth or high quality brush


Instructions:

Alternative text for image

Source: paintexplained.com

  1. Ensure your paint surface is entirely dry and clean.
  2. Apply a thin coat of matte sealer use a cloth or brush.
  3. Work in the direction of the grain for wood surfaces.
  4. Allow to dry wholly accord to the product instructions.
  5. Apply a second coat if you need for high traffic areas.


Pro tip:

Test your sealer on a small area 1st to ensure it doesn’t add unwanted shine to your matte finish.

Troubleshoot common DIY matte paint issues

Yet with careful preparation, you might encounter some challenges when create and apply DIY matte paint.

Paint is too thick


Solution:

Add small amounts of water and mix soundly until you reach the desire consistency. For chalk paint or flour base formulas, be specially careful not to add besides much water at erstwhile.

Uneven finish


Solution:

Gently sand between coats with fine grit sandpaper, so apply another thin coat. Ensure your mixing is thorough to avoid inconsistent texture.

Crack or flaking


Solution:

This normally indicate the paint was applied excessively thick or didn’t dry right between coats. Sand the affected areas, so apply thinner coats with adequate dry time.

Chalky residue


Solution:

If your dry paint leaves a chalky residue when touch, you may haveaddedd excessively much matting agent. Apply a matte sealer to lock in the particles and prevent transfer.

Creative projects use DIY matte paint

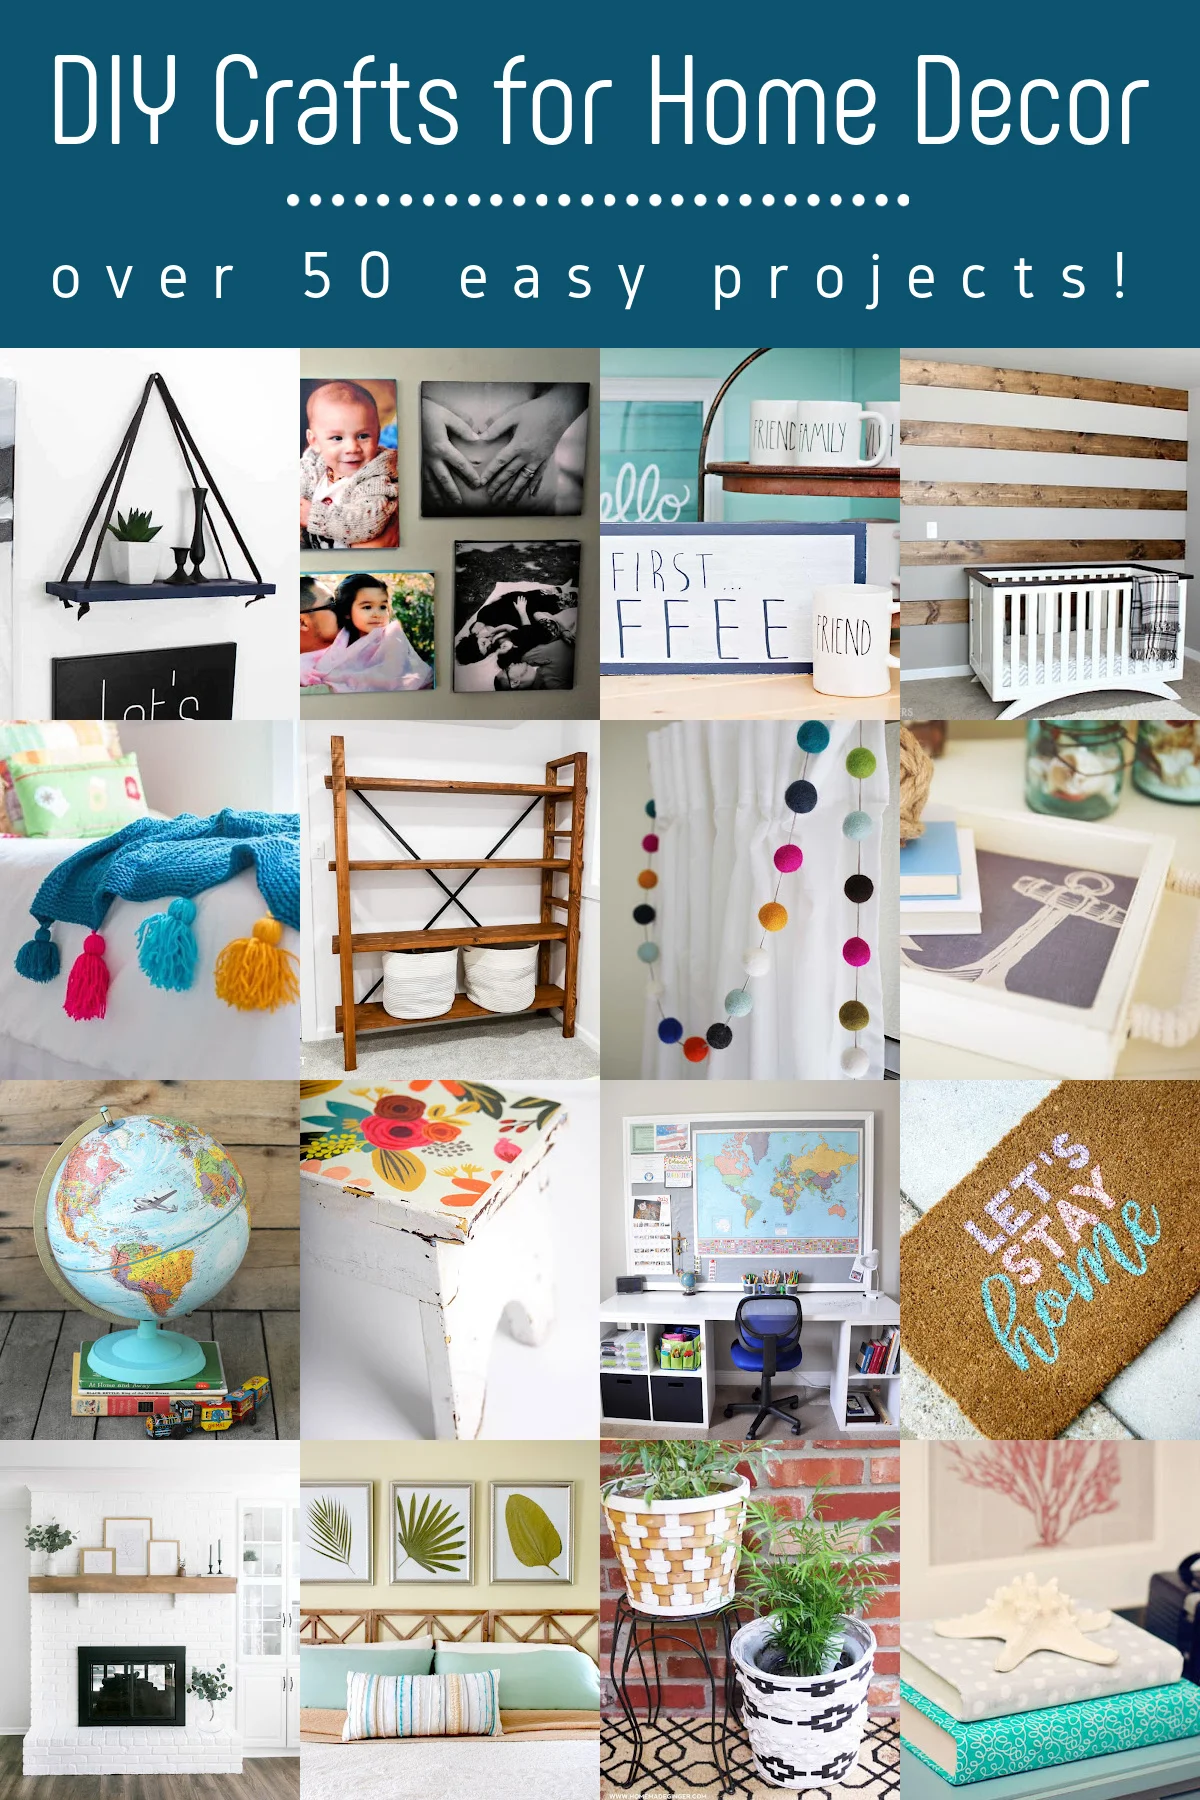
Instantly that you know how to create various types of matte paint, here are some project ideas to put your new knowledge to work:

Furniture transformation

Matte finishes are perfect for giving old furniture a modern update or create a vintage, distressed look. The chalk paint method work specially easily for furniture projects.

Accent walls

A matte finish on an accent wall create depth and sophistication without overwhelm a space. The bake soda or unsanded grout methods work wellspring for larger wall projects.

Decorative containers

Transform glass jars, metal containers, or plastic storage bins with matte paint for a cohesive, designer look. The acrylic matte medium work swell for smaller decorative items.

Picture frames

Will create a gallery wall with coordinated matte finish frames that won’t will compete with your artwork. Any of the DIY methods can work easily for this small scale project.

Eco-friendly considerations

Many DIY matte paint methods use natural ingredients, make them more environmentally friendly than some commercial options. To air reduce environmental impact:

  • Choose low VOC or zero VOC base paints when possible.
  • Opt for natural additives like calcium carbonate over synthetic options.
  • Store leftover paint right to extend its usable life.
  • Dispose of paint and materials responsibly accord to local regulations.

Final thoughts on DIY matte paint

Create your own matte paint allow for customization, cost savings, and the satisfaction of craft something unique. Whether you’re transformed furniture, update walls, or work on craft projects, thesDIYiy methods provide flexible optionfor achievingve that perfect flat finish.

Remember that each method have its strengths and ideal applications. Experiment with small test areas before commit to larger projects, and don’t be afraid to adjust ratios to achieve your perfect level of matte ness. With these techniques in your creative arsenal, you can transform any glossy surface into a sophisticated, matte masterpiece.

The beauty of DIY matte paint lie not scarce in its aesthetic appeal, but in the ability to customize it incisively to your needs — something that store buy options can seldom match. Happy crafting!

Family-Oriented: Understanding Values, Practices, and Benefits
Teleworking Security: Identifying Unsafe Practices in IoT Environments
Special Education Resources: Understanding SOR in Educational Settings
DIY Matte Paint: Simple Methods for Creating Flat Finish Surfaces
Digital Wellness Strategies: What Works and What Doesn't
Sports Insurance Costs: A Complete Guide for Athletes and Organizations
Family Caregiving: A Comprehensive Guide to Caring for Loved Ones
Gift Tax Rules: Understanding IRS Guidelines for Family Money Transfers
Live Nation Entertainment Stock: Key Debates and Investment Considerations
Technology Interconnection: Environmental Impact and Space-Based Monitoring Systems
Sports Betting Strategies: Understanding the Money Line and Effective Approaches
Seamless Tech Integration: Creating a Balanced Digital Lifestyle